
On Thursday we wrote about our brand-spankin new pocket rocket stove and how excited we were that it was working. This weekend we put it to the test with a task wed been saving for a long time: turning the leftovers from chicken butchering (or more precisely, from chicken roasting and shredding so theyd all fit in our freezer) into calcium- and phosphorus-rich biochar.
 |
| Todays objective: get rid of this without throwing it in the trash or stinking up the neighborhood. Katie says, "Youve been saving that since November?! Eww!" The smell is...less offensive than expected. Theres also some bonus biomass to process, and fun colors, too! |
 |
| Step 1: Get a roaring fire going in the pocket rocket on top of a good bed of coals. Notice we added the concrete blocks around the sides for extra stability this time. |
 |
| One foolproof way to see if the stove is drafting correctly is the old marshmallow test. If you can roast a marshmallow above the chimney, its drafting correctly. We recommend this test be performed during every burn. |
 |
| Step 2: When the fire is burning really hot, add a little bit of the chicken waste. Its hard to set a hard ratio of wood-to-chicken, but if you try it, youll get the hang of it pretty quickly. |
 |
| Theres something oddly poetic and at the same time Terminator-esque about pyrolyzing chicken bones. |
 |
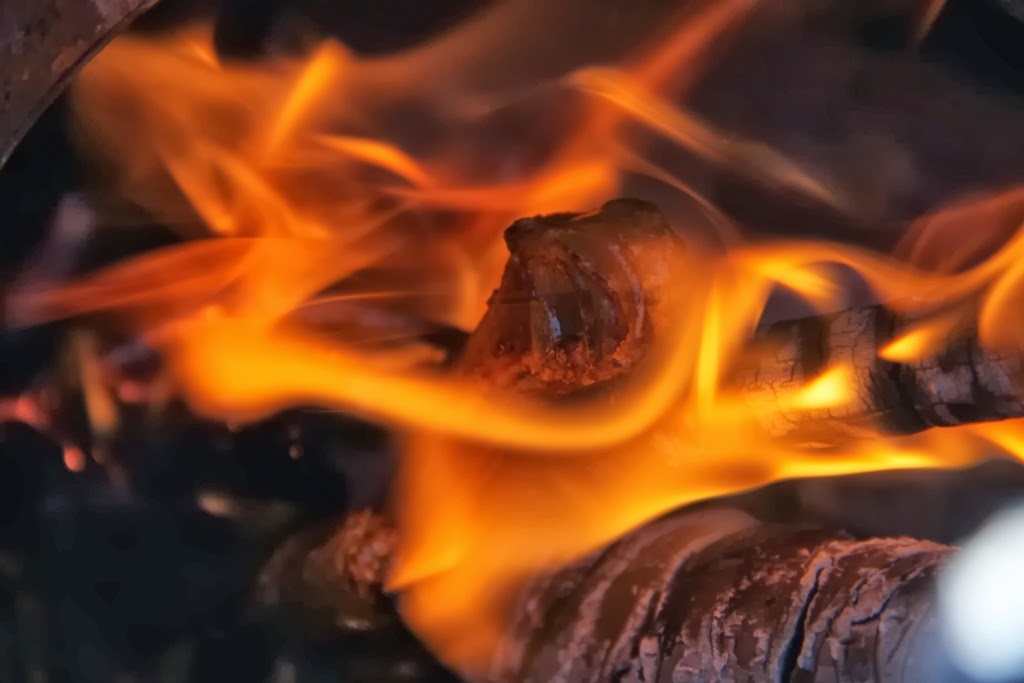
| When things are burning well, theres no smoke. |
 |
| If the fire gets too cold, say, from adding too much wet chicken material, the smoke is kind of white, but not really acrid like one might expect. We found that adding a handful of loose, very dry leaves usually fixed this situation since the leaves would ignite and burn hot for a few seconds, which was enough to get the wood back on track. Hopefully no one thinks theres a new pope--we kind of like this Francis guy. |
 |
| After about five hours, the bucket was full enough of char and ashes that it became difficult to scrape the coals away from the chimney opening to keep it drafting properly. We let it burn for a little while without adding any fuel, which allowed the chimney to cool down enough that we could pick it up with insulated leather gloves. The top of the bucket came right with it. |
 |
| Then we dumped the hot biochar into another steel bucket. You can tell this ones different because it still has paint. Then we started over with re-lighting the stove. Probably we could have also scooped some of the hot coals from this bucket back into the first one to light the next fire and saved a few minutes. |
 |
| And there you have it: chicken-flavored biochar. You may use that as the name of your garage band, if you like. After about 10 hours, we had all of the chicken waste taken care of, and got a little less than one five-gallon bucket worth of char and ashes. That works out to about one chicken per hour at this scale. Also, a word of caution: even 24 hours later, combining the ashes into one bucket, they were still hot and had some glowing embers. Dont store them too close to combustibles! |
 |
| Some of the bones are just charred, others have had all the carbon burned out of them, leaving a fragile ash matrix. Both will be very good for the garden. None of the nearby houses started on fire, and none of the neighbors came over to complain (which would have certainly followed had we failed on the first goal), which means we went two-for-two on the day. Success! |
Have you made biochar before? Whats your setup? What do you do with chicken leftovers? Let us know in the comments section below!


